Water Pump Replacement
Contents
New Timing Chain and
Water Pump Installation
Front Engine Cover
installation
Exhaust Manifold
Installation.
Overview
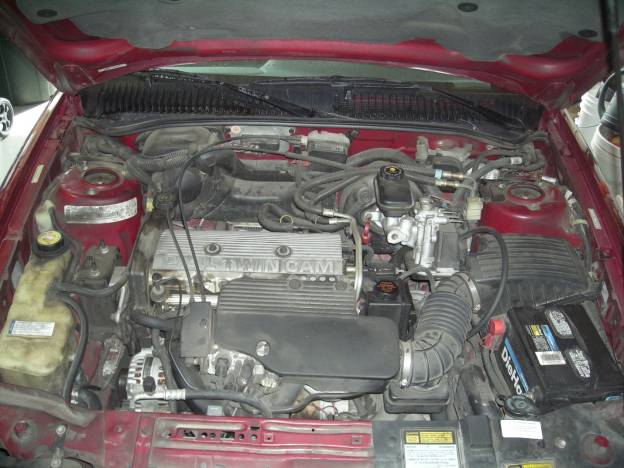
First I parked the car in the garage and opened the hood. I noticed that it is very dirty inside.
Battery
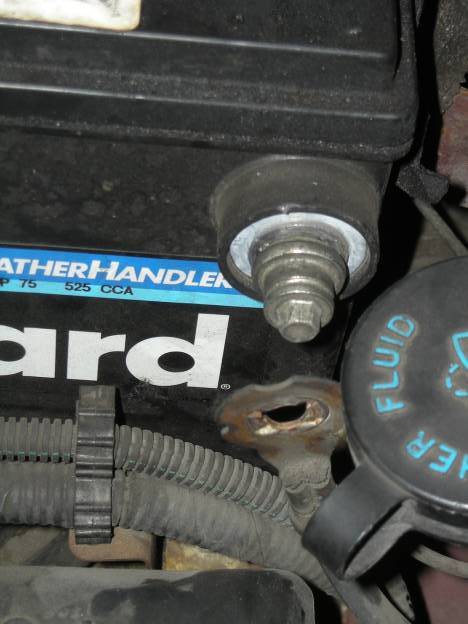
Next I disconnected the negative battery cable.
Drain Coolant
Next I located the radiator drain plug and loosed it so that the remaining radiator fluid would drain out.
Air intake
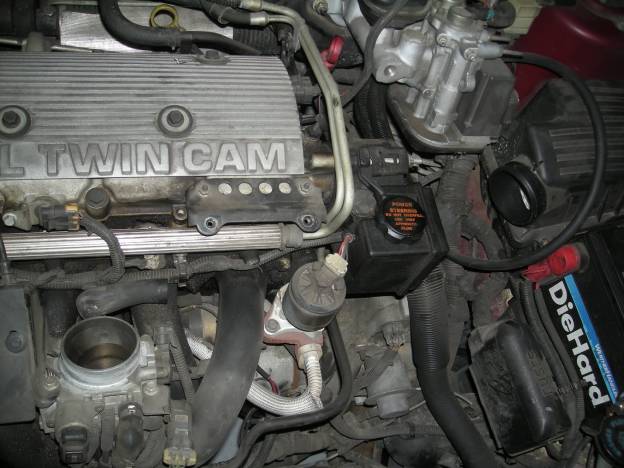
Next I removed part of the air intake system to give myself a little more room to work.
Exhaust Manifold
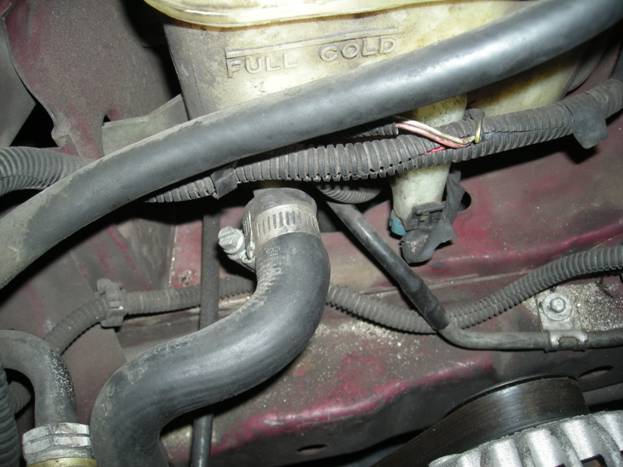
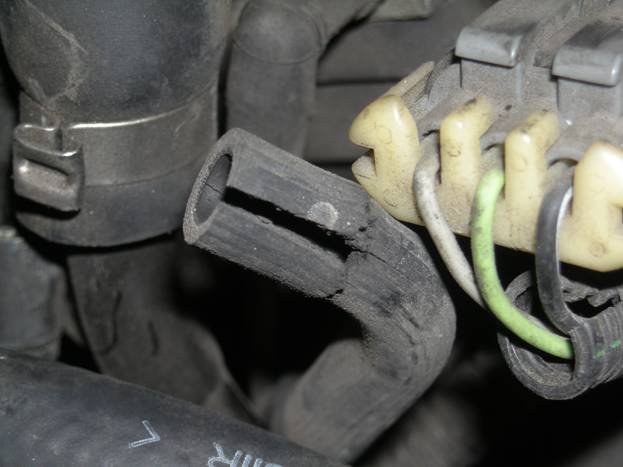
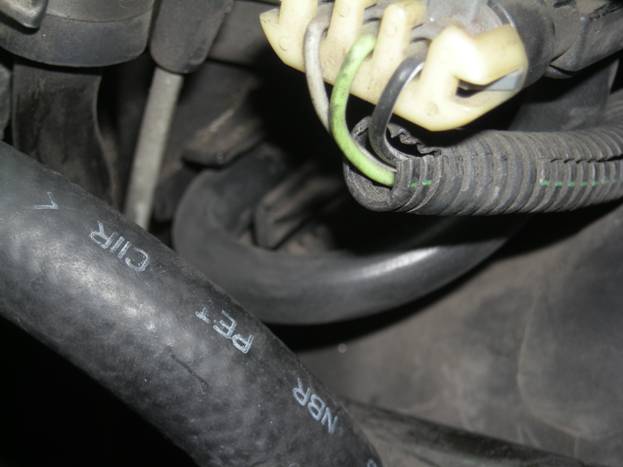
Then I removed the silver upper exhaust manifold heat shield. And I located and disconnected the oxygen sensor wire shown here.
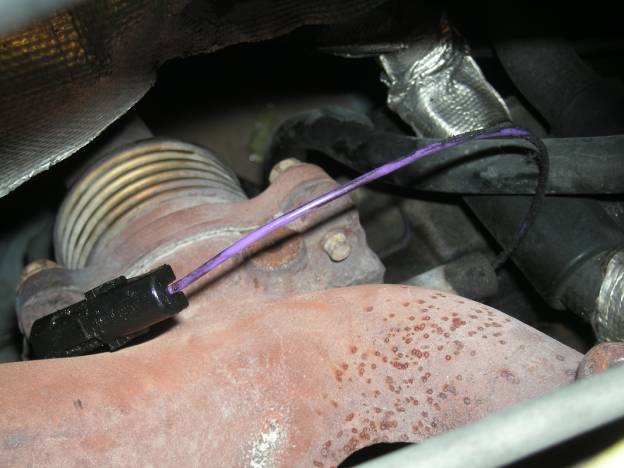
I need to remember to reconnect this oxygen sensor wire when I am done.
Here is a shot of the oxygen sensor wire resting on top of the exhaust manifold.

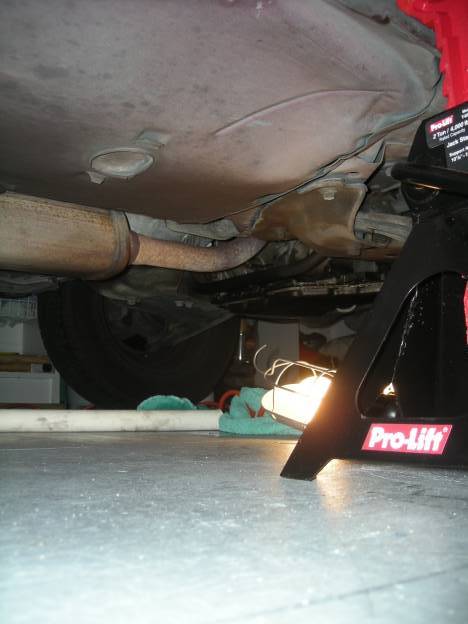
Next I raised the front of the Grand Am and supported with two jackstands.
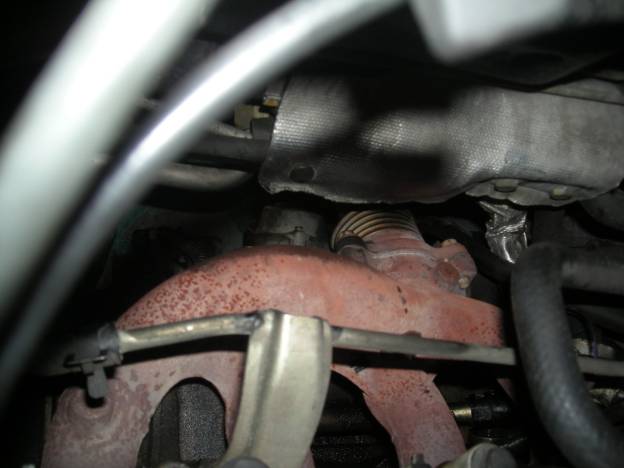
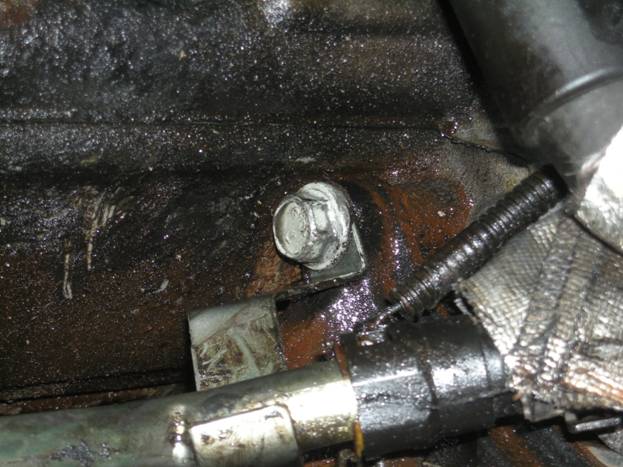
I crawled under the vehicle and found the exhaust manifold brace bolt. The exhaust manifold brace bolt is the bottom bolt shown here. It is a 15 millimeter bolt. It took liquid wrench, a breaker bar, and several tries to get this bolt and the other four loosened.
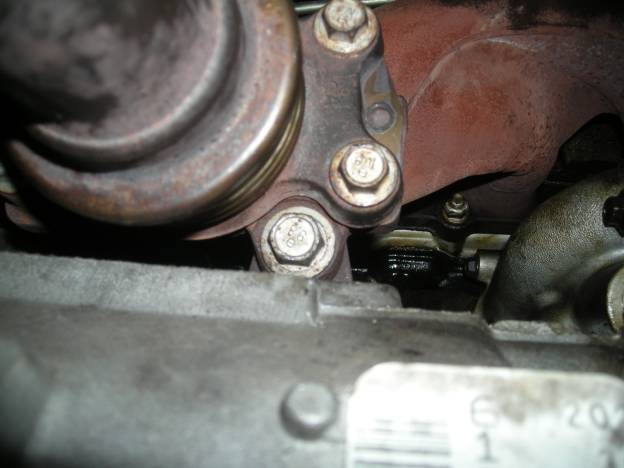
Here is a shot from above of the area with the bolts that were difficult to remove. You actually cannot see the manifold brace bolt from above.
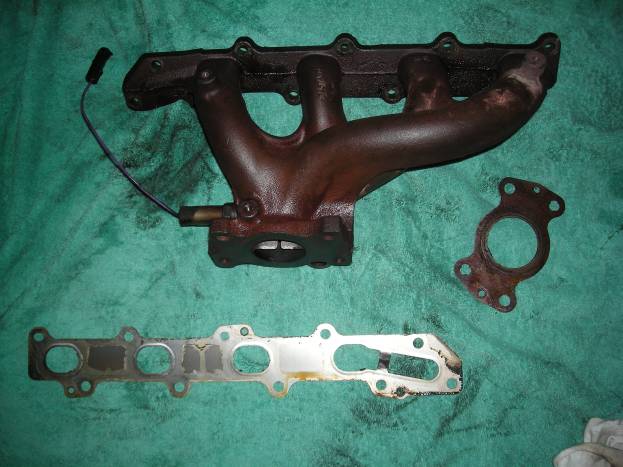
Here is the removed exhaust manifold and gaskets. Some of the smaller flexible hoses as well as some metal tubing had to be disconnected and/or removed in order to free the exhaust manifold.
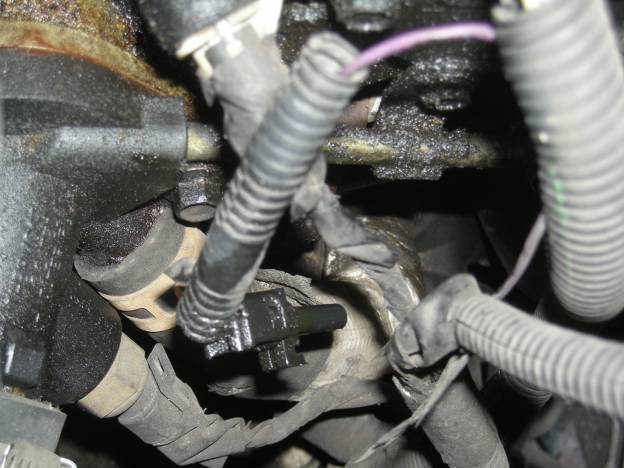
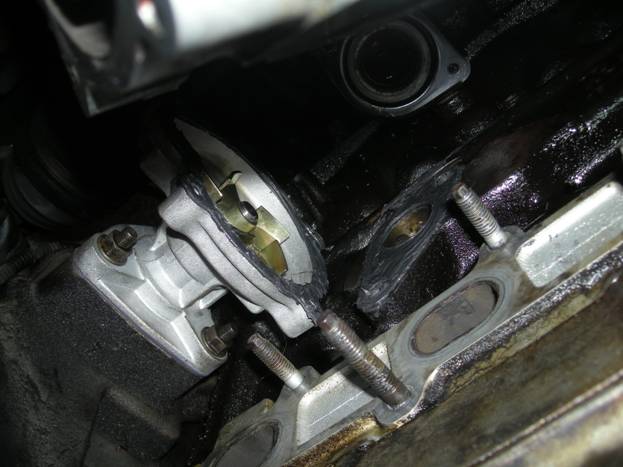
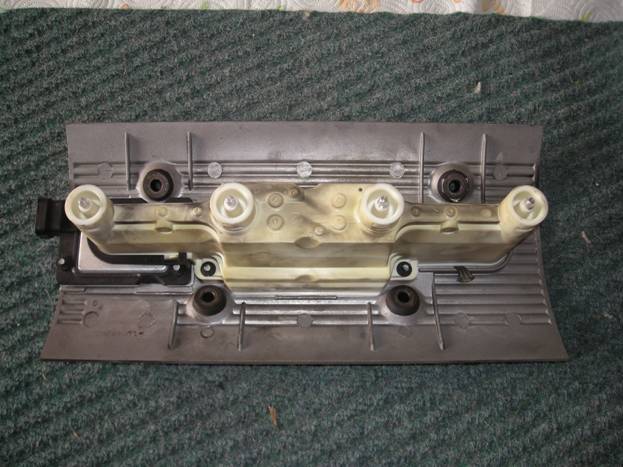
Water Pump Housing
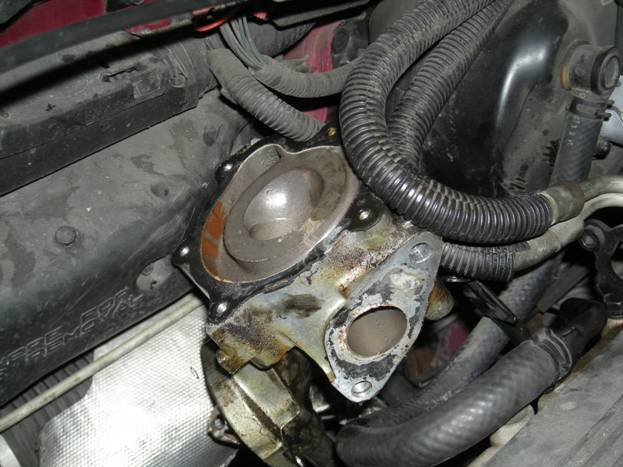
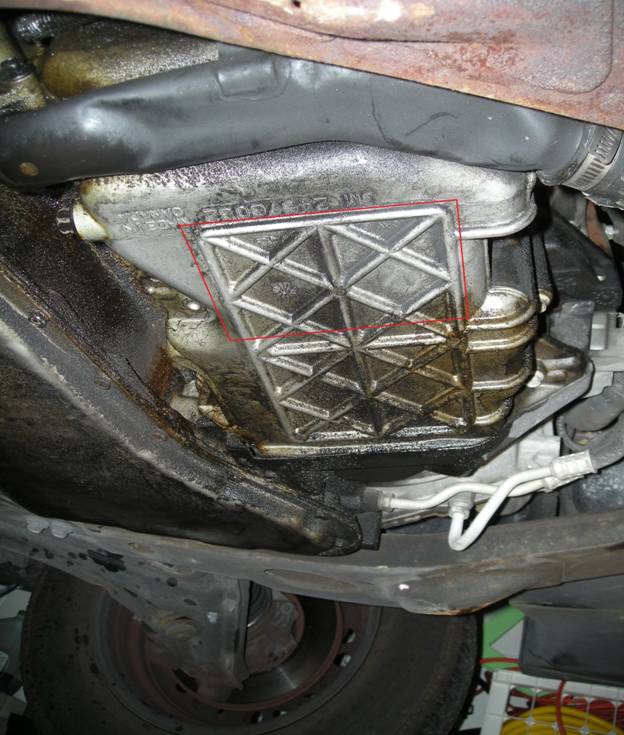
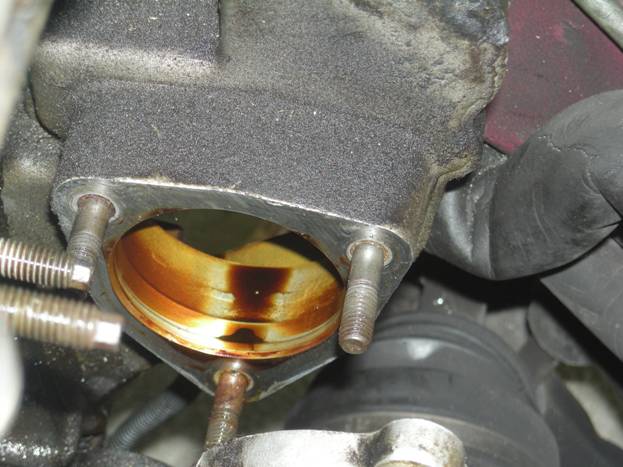
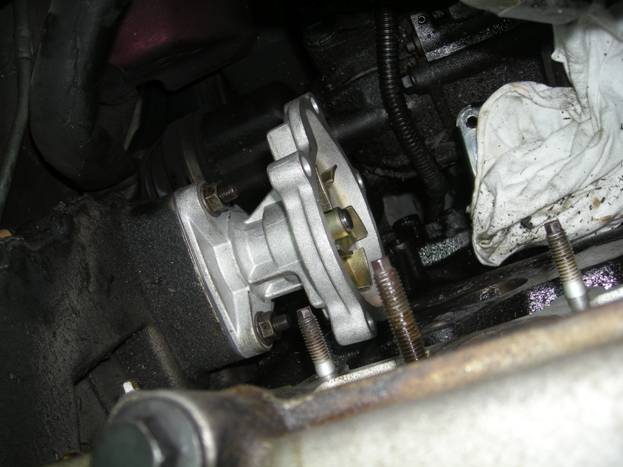
I can now see the water pump assembly. My next step is to remove the outlet pipe from the oil pan and transaxle.
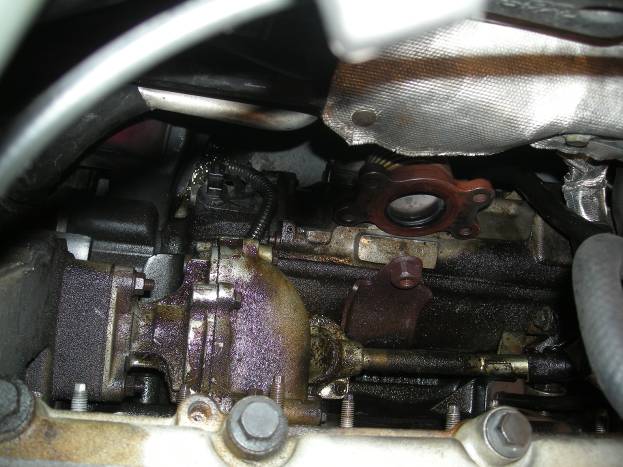
Here is a shot of the water pump.
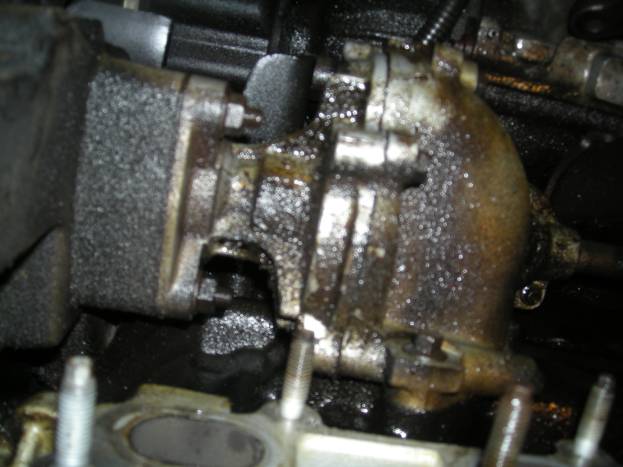
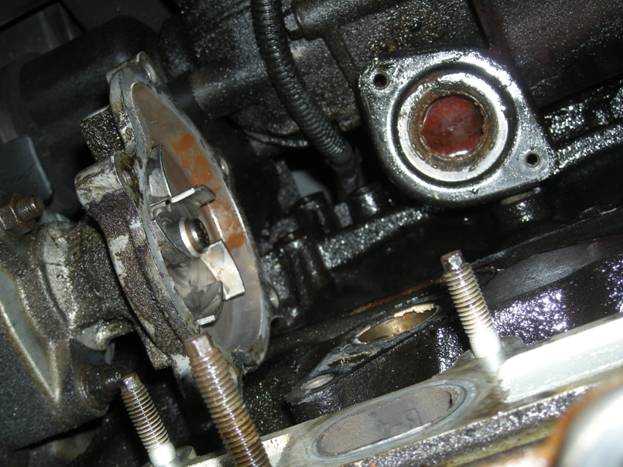
This bolt holding the outlet pipe was very difficult.
All the bolts holding the outlet pipe and water pump housing are removed.

Here is the exposed water pump after moving the water pump housing out of the way.
Engine Front Cover Removal
Next I removed the coolant overflow tank.
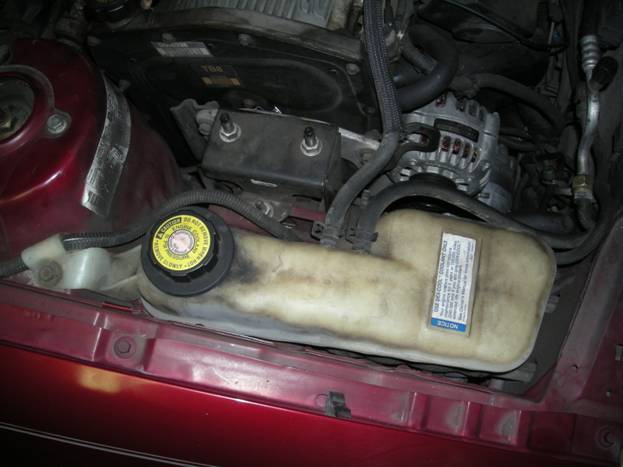
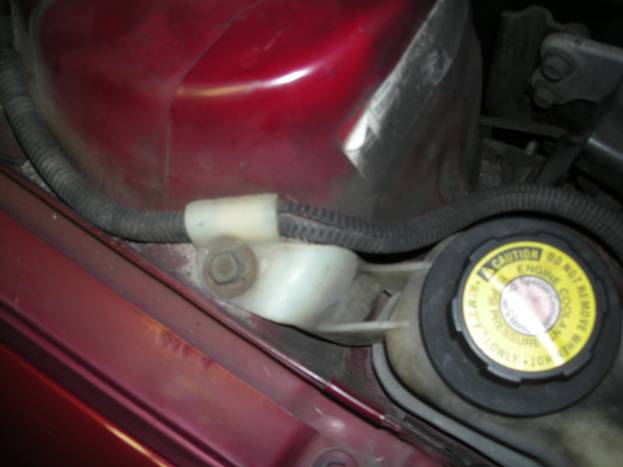
The coolant overflow tank is now out of the way.
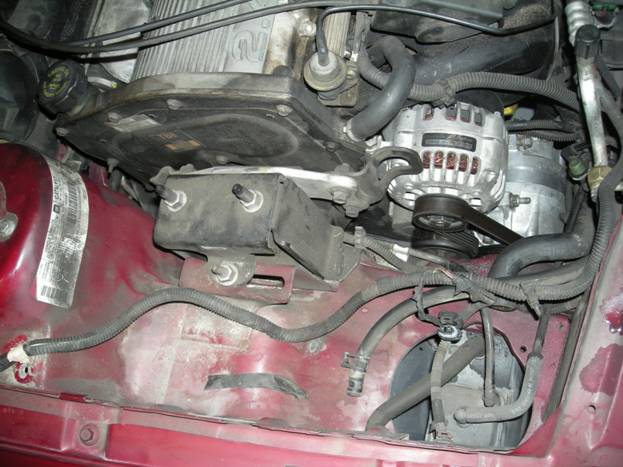
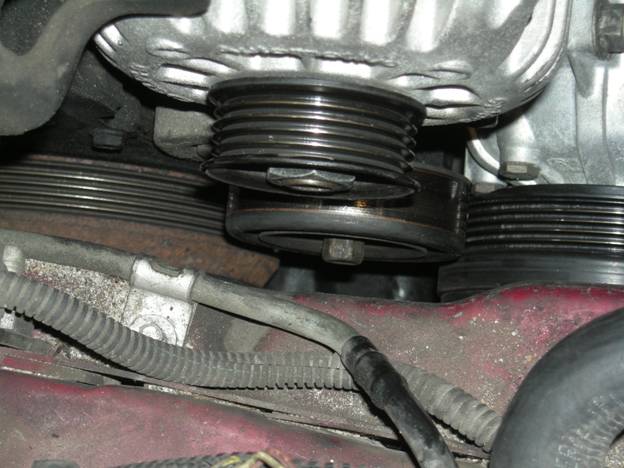
I removed the serpentine belt. This was actually not as hard as I thought it would be. I just had to use my ½ drive breaker bar to release the tension in the tension pulley.
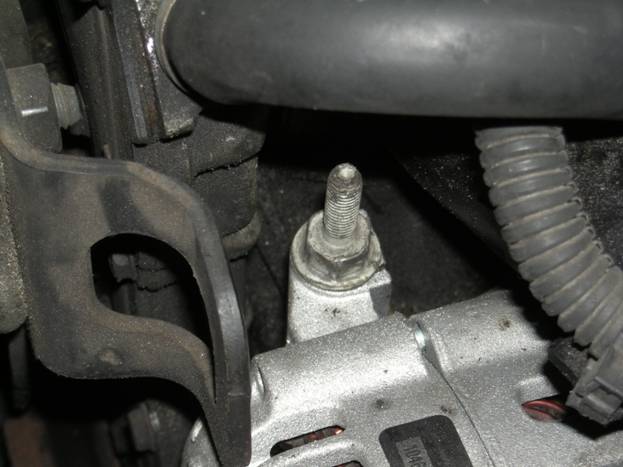
This is the stud to use when supporting the engine with an engine lift.
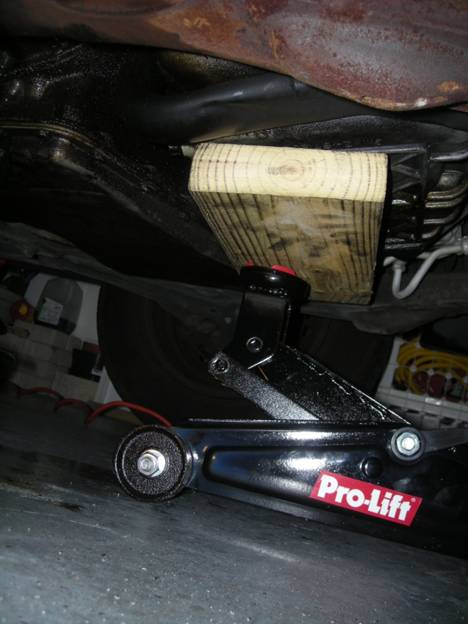
Unfortunately, the only exposed area of the engine is the aluminum oil pan. In order to support the engine with a jack I will need to include a 2 x 6 block of wood that spans the whole area.
Here is the engine supported.
Here is the engine mount assembly that I had to remove.
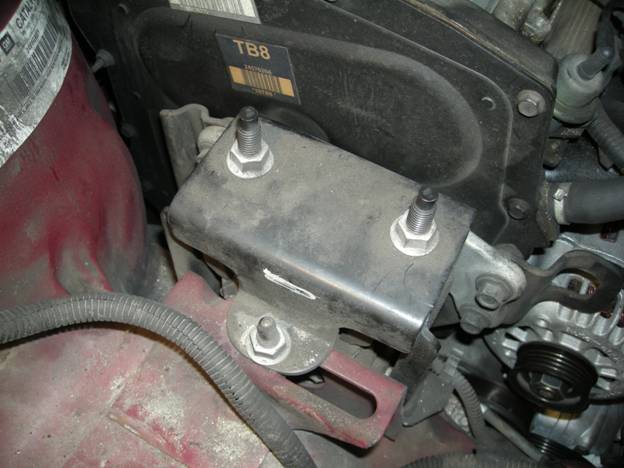
I removed the top nuts and cover of engine mount assembly.
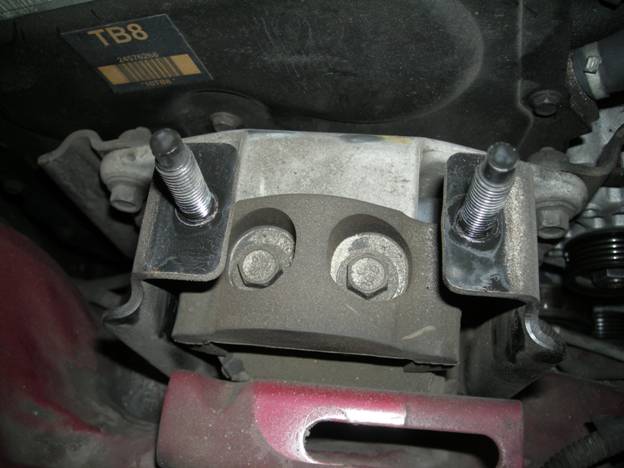
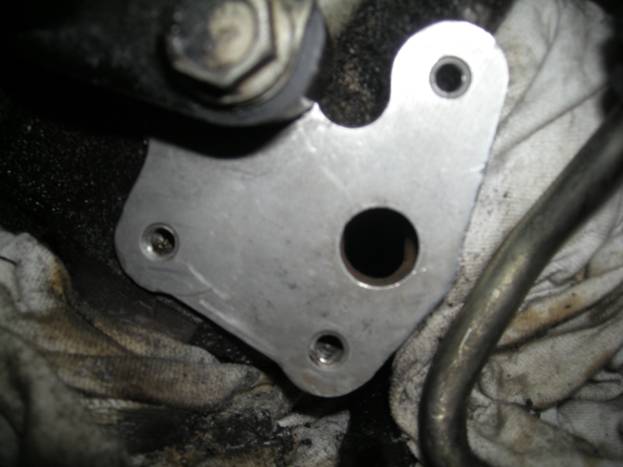
Here is the mounting bracket adapter exposed. I was able to loosen the three engine mount bolts without too much effort. However, there was not enough clearance between the wheel well and the front of the engine to remove the bolts!
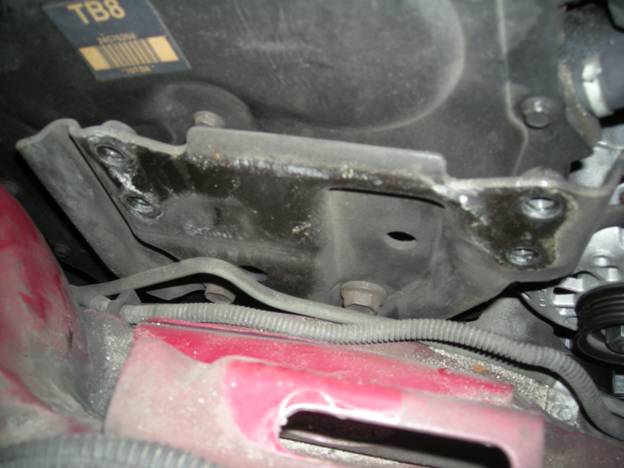
I considered supporting the engine with a jackstand under the front bottom engine mount bracket and removing the front bottom engine mounts in order raise the engine enough for the front top engine mount bolts to be extracted. However, I did not know if there would be enough free play on the back side of the engine to allow the engine to be lifted as much as would be needed. Also, I did not have an engine lift, so I abandoned this approach.

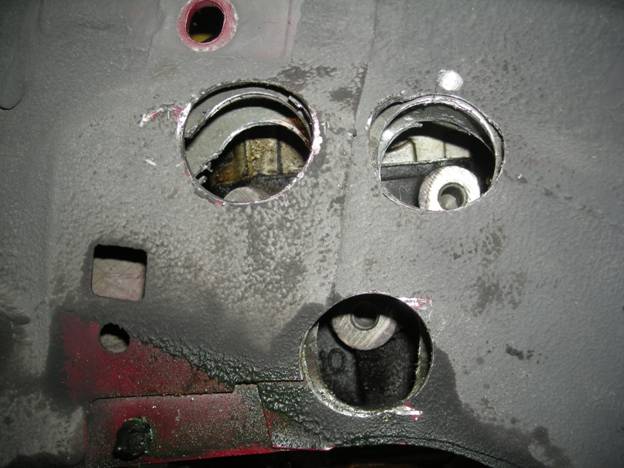
I ended up drilling holes (with my neighbor’s help) through the front fender well in order to extract the bolts.

Assuming I get everything back together at some point then I will need to seal up the holes.
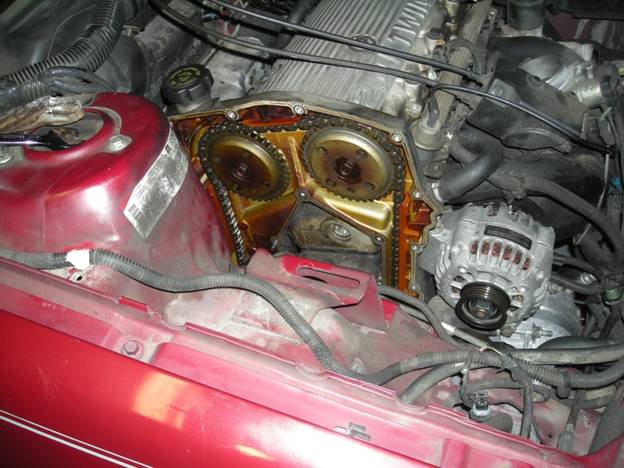
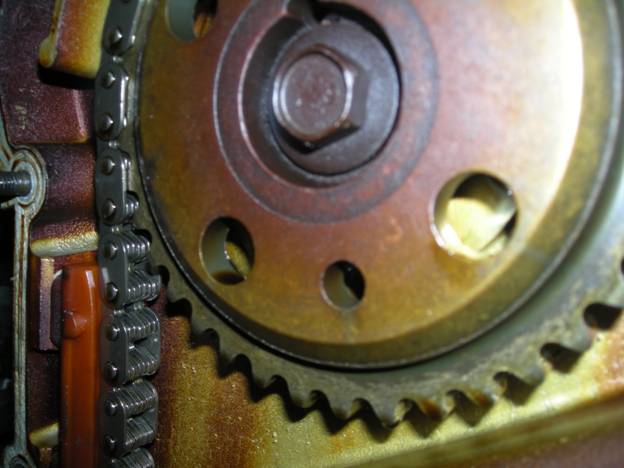
After removing the engine mounts, removing the crankshaft damper with a puller, and removing the front timing cover I can now finally see the timing chain!
Timed Position
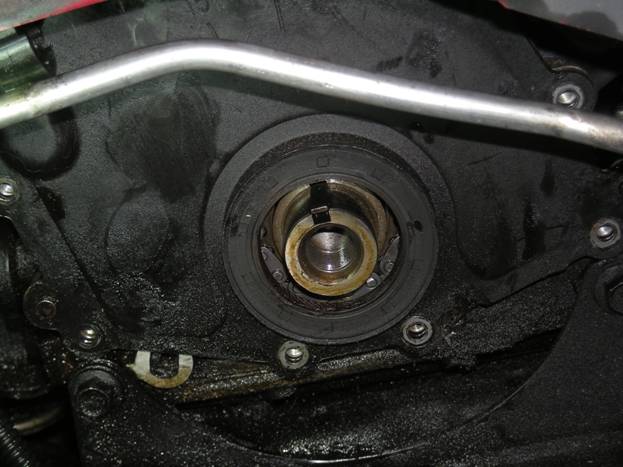
I put the crankshaft bolt back in so that I could turn the engine to the timed position.
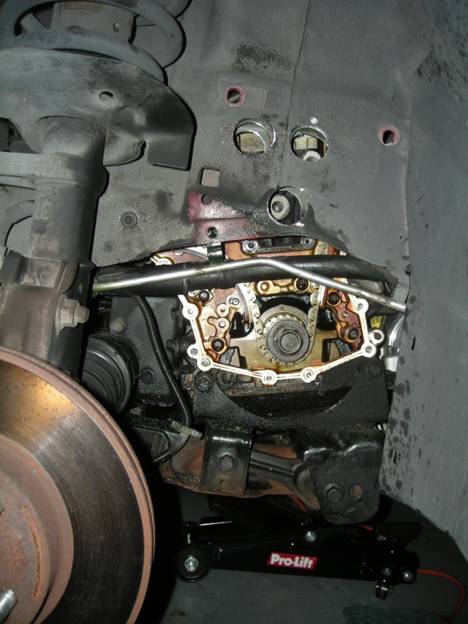
I believe I have now lined up the crankshaft pin with the timing mark on the engine.
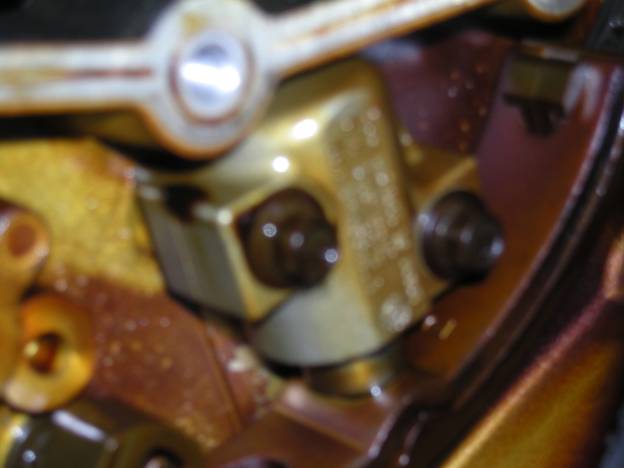
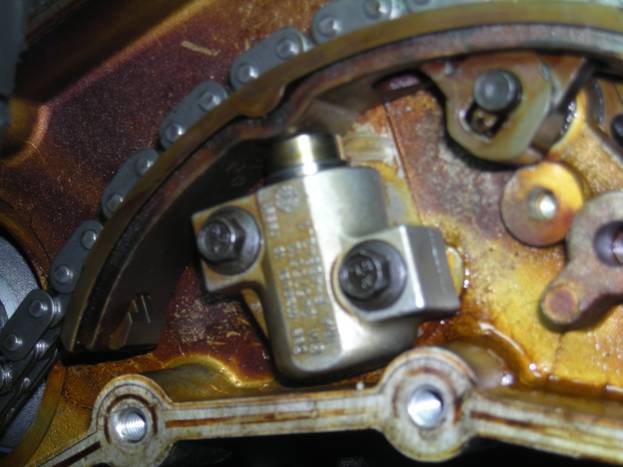
Here is the timing chain tensioner.
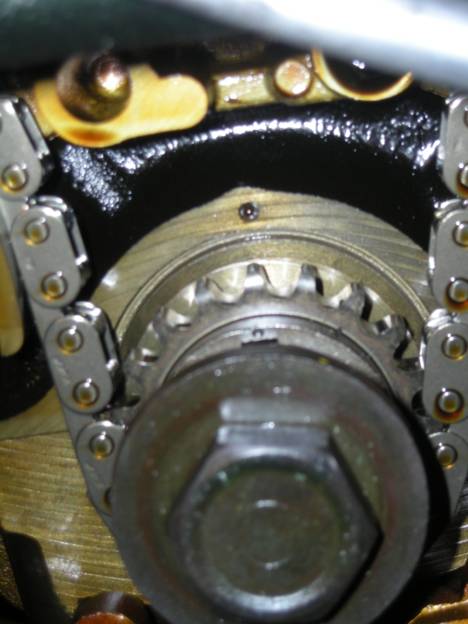
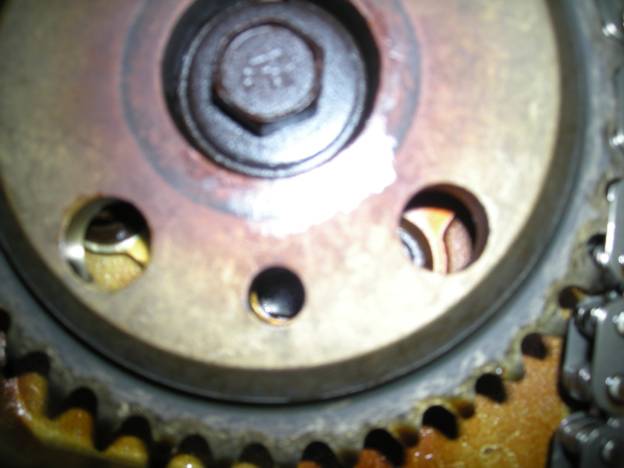
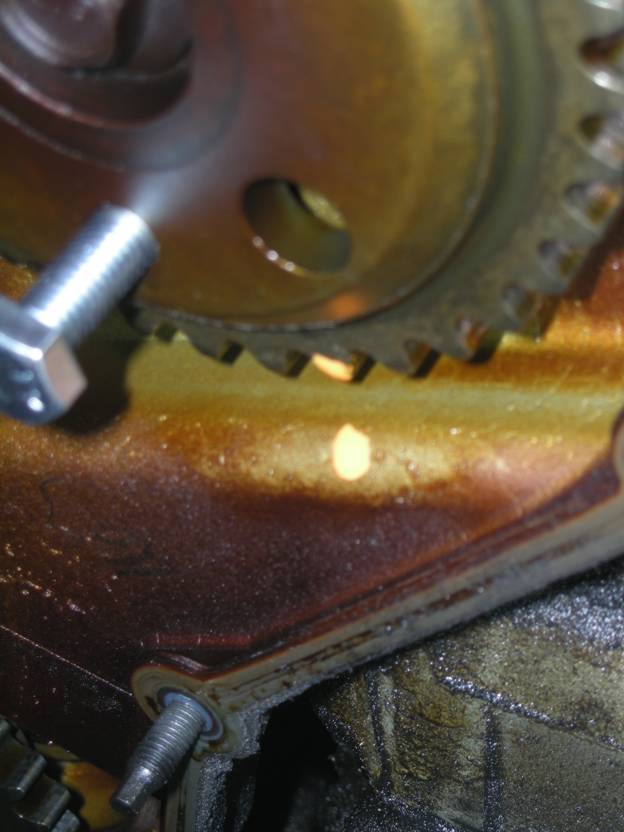
I believe I have lined up the top sprockets with the timing pins. I need to get some 8 mm bolts tomorrow.
Here is the exhaust camshaft sprocket.
Here is the intake camshaft sprocket.
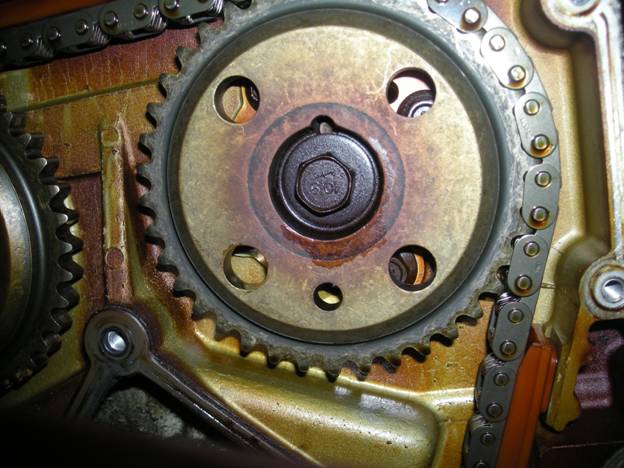
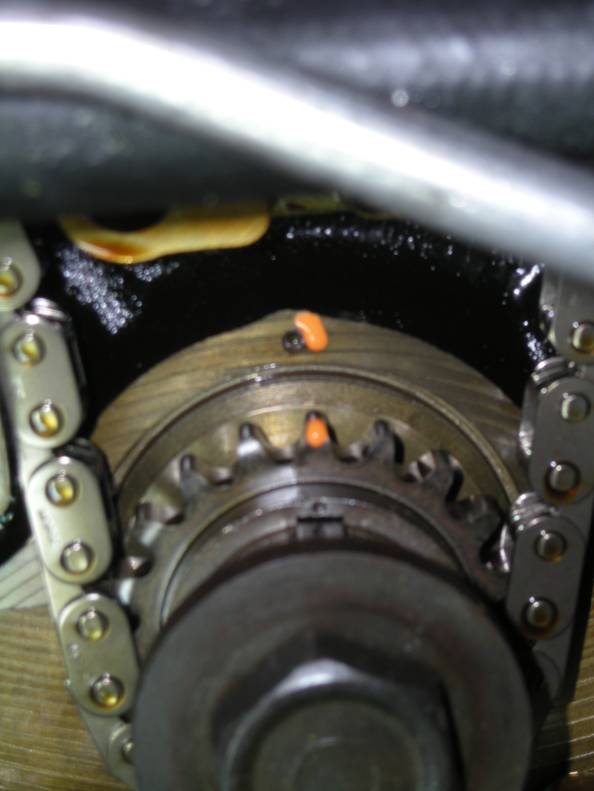
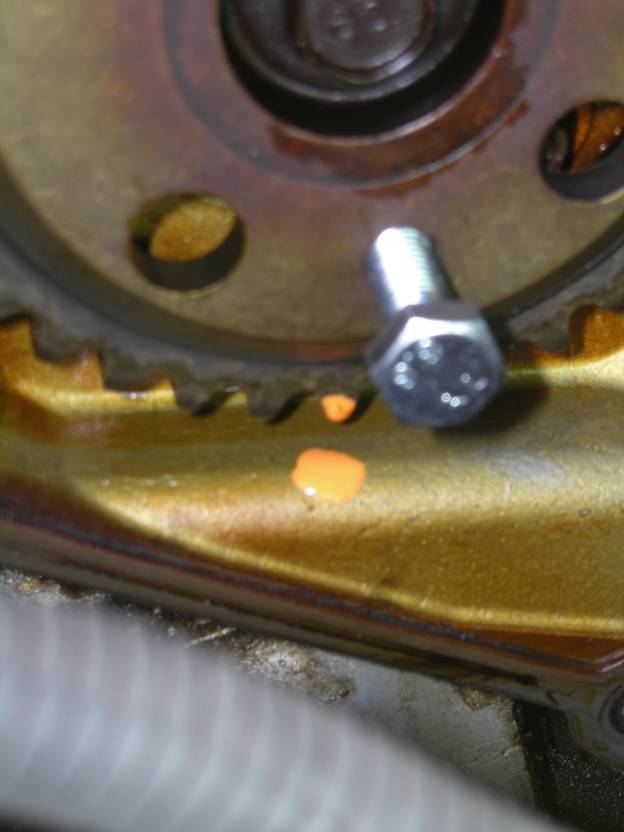
I added some orange paint to mark the position of the sprockets in relation to the timing chain housing in addition to using bolts inside the timing holes.
Timing Chain Removal
I released the timing chain tensioner.
And then I removed the old the old timing chain while being careful to not move
the position of the sprockets. Then I was easily able to slide out the old
water pump.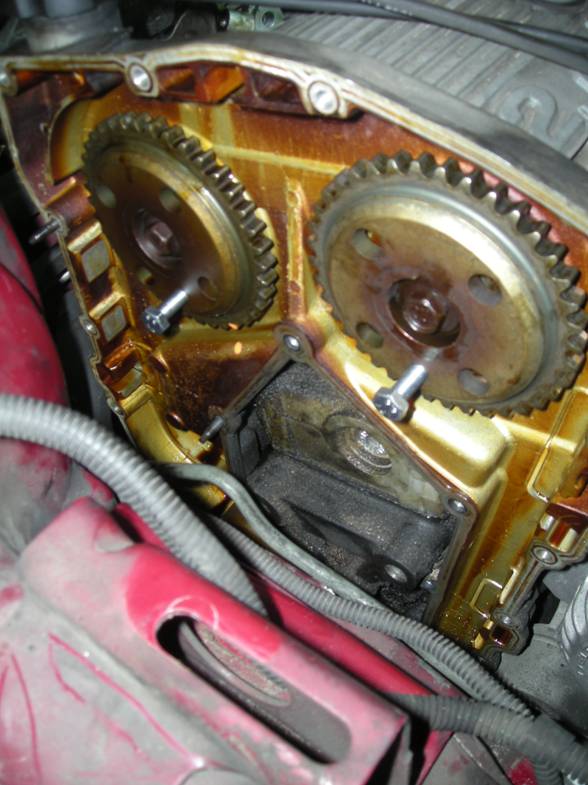
Water Pump Removal
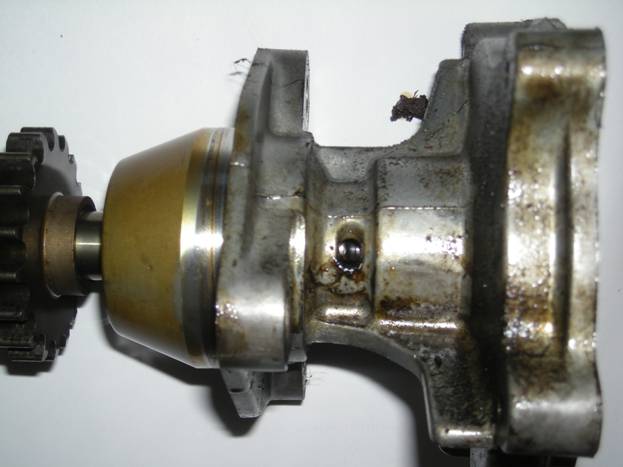
The water pump is now removed.
New Timing Chain and Water Pump Installation
I put in the new water pump with new gaskets and placed the
new timing chain over all the gears.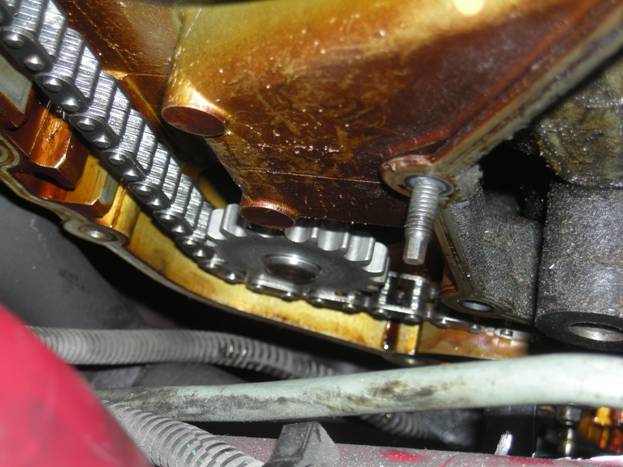
I reset the timing chain tensioner prior to installing the new chain. And then I released the pressure of the tensioner after the chain was in position.
Here is the new water pump bolted down.
You can see some residue from the seep hole in the old water pump.
I poured fresh oil over the new timing chain after getting everything into position and then rotated the crankshaft two full cycles.

Front Engine Cover installation
I reinstalled the timing chain cover.
Water Pump Cover Installation
I applied new gaskets for the water pump cover. And then I reinstalled the water pump cover.
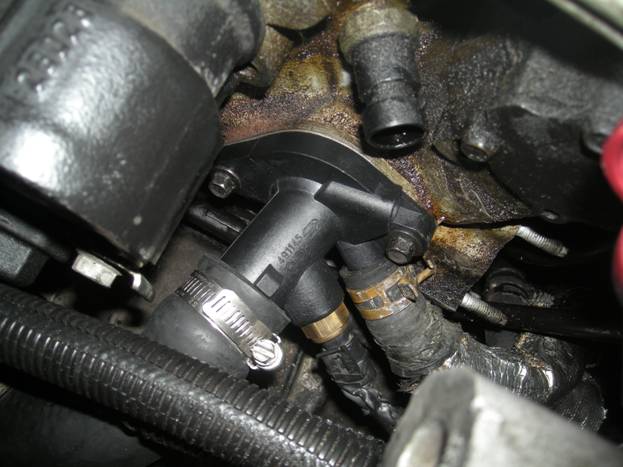
Water Outlet Replacement
After I was able to finish reinstalling the water pump cover I filled up the system with water and found that it was still leaking. I traced the leak to the water outlet. Then I removed the old water outlet.
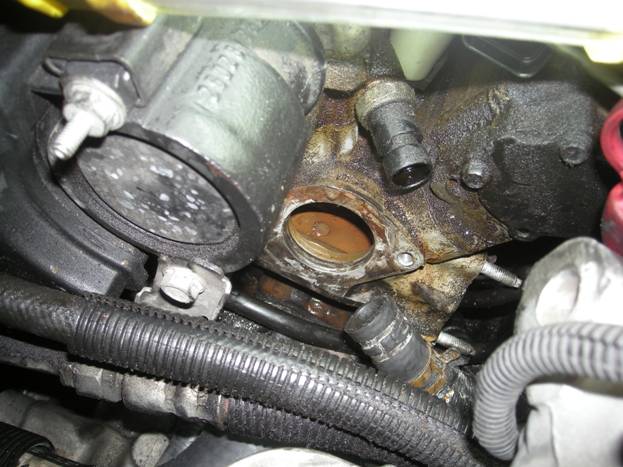
Here you can see part of the gasket from the old water outlet inside the engine.
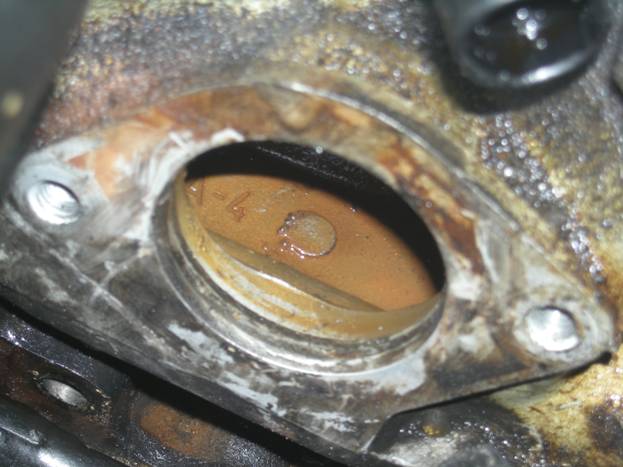
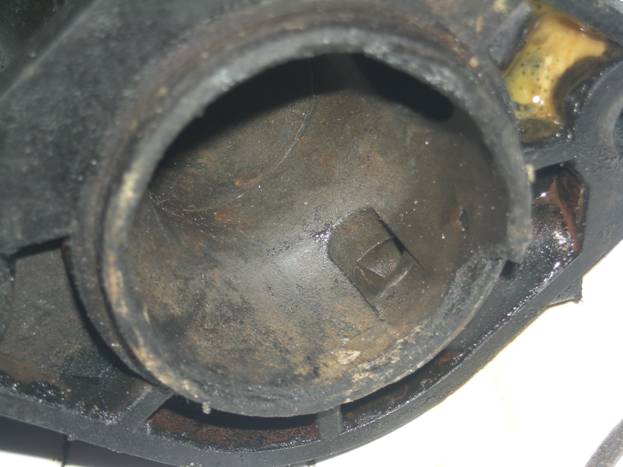
Here is the old, defective water outlet. This was probably the source of the main leak in the first place.
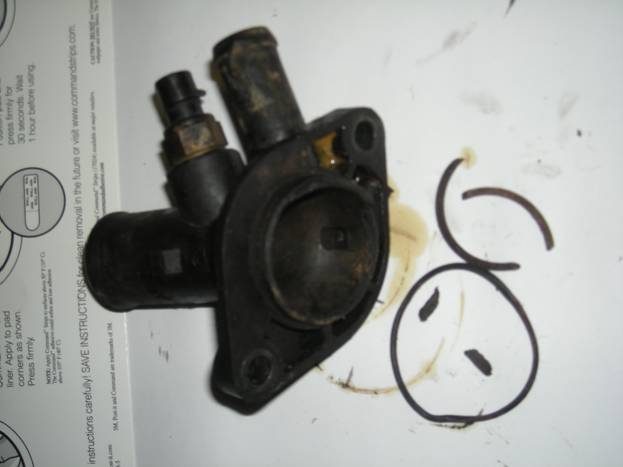
I installed the new water outlet. Then I checked for leaks again. This time I found no leaks!
Exhaust Manifold Installation.
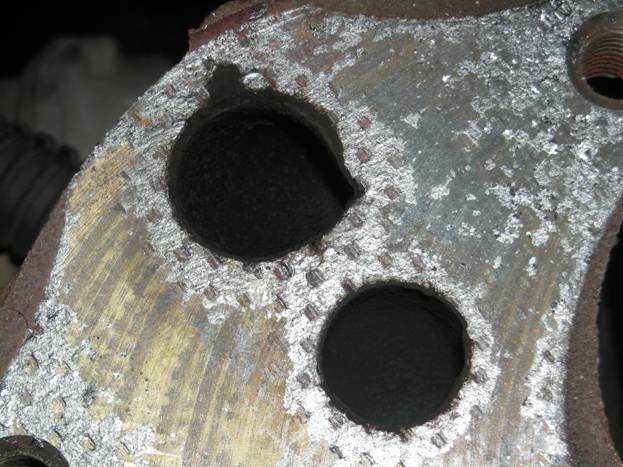
I put in a new gasket after cleaning up the surfaces.

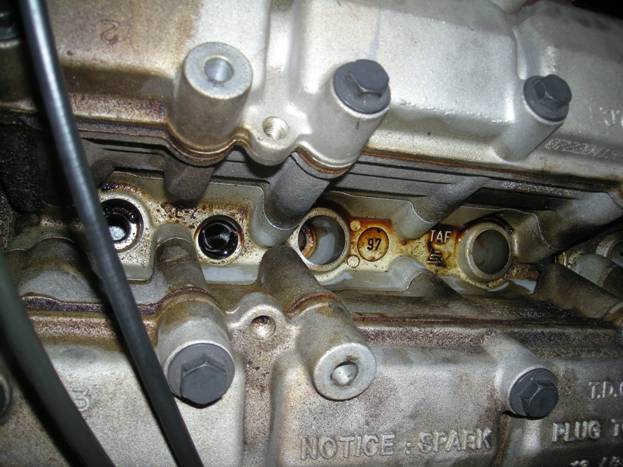
Spark Plugs Replacement
After I finished installing the exhaust manifold then I hooked it up to the exhaust pipe. After I got everything else reinstalled I started it up. The engine was a little rough at idle. And I received an error code of P0300 for random multiple cylinder misfire. I was past due for spark plugs anyway so I changed those next. I noticed some oil from probably leaky valve covers.
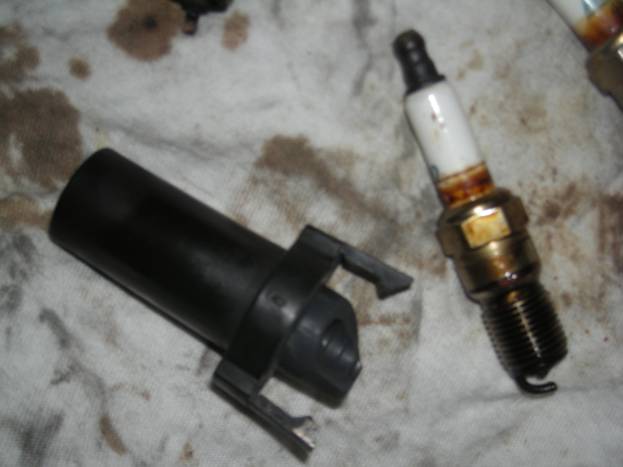
I replaced the spark plug boots in addition to the plugs because they were worn, cracked, and one was broken
Vacuum hose Replacement
I found a cracked hose that could be causing part of the problem so I also replaced that hose.
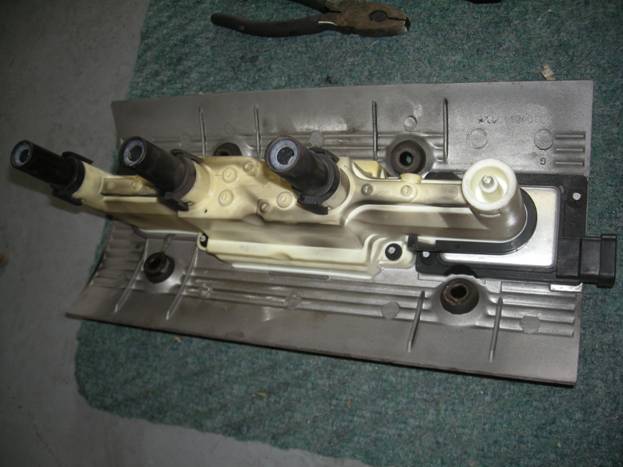
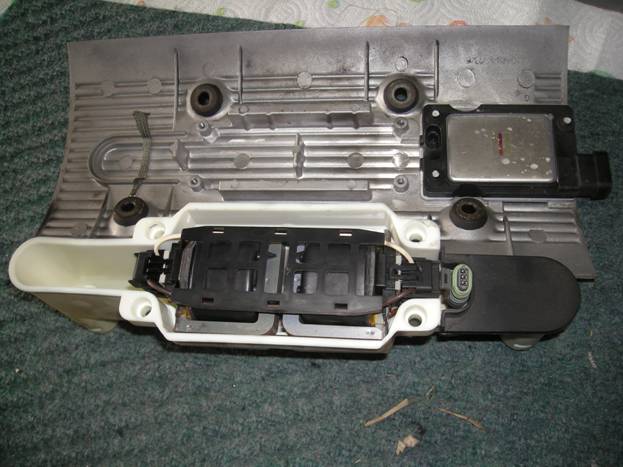
Ignition Coils Testing
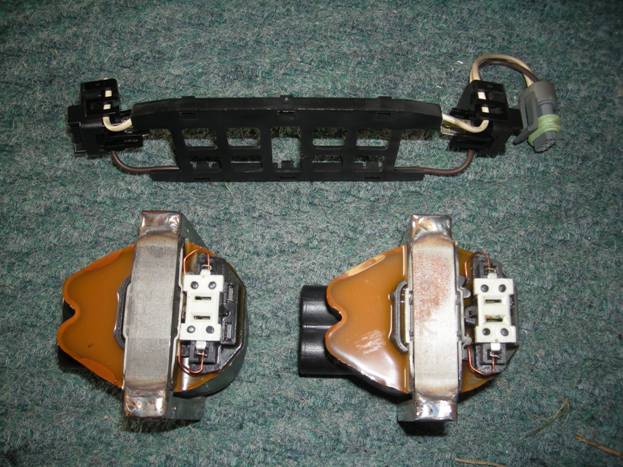
With the new plugs the engine runs a lot smoother, but I was still getting the error for misfires so I next tested the coils. I had to take apart the housing that sits on top of the spark plugs.
After I got the coils out I tested the resistance of each one. I had a resistance of about 5.9 kiloohms for each one. Then I tested brand new ones. The new ones had only slightly better resistance of 6.1 kiloohms so I decided this was probably not the problem, and put the old ones back in.
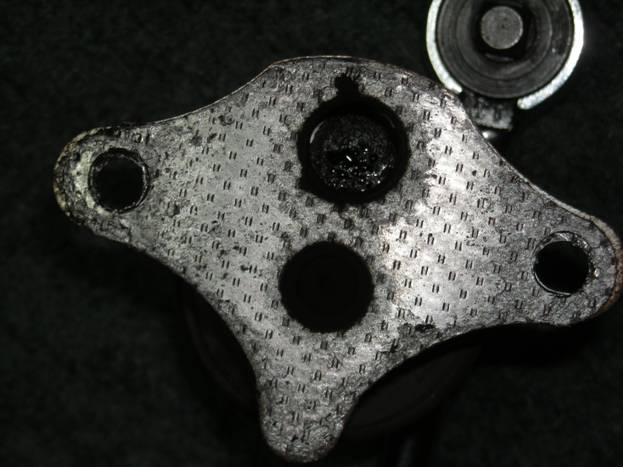
EGR Valve Cleaning
A sticking or malfunctioning EGR valve can also cause multiple random engine misfires. The price of a new one is $180 for my Grand Am. So, I decided to inspect and clean the old one instead of replacing.
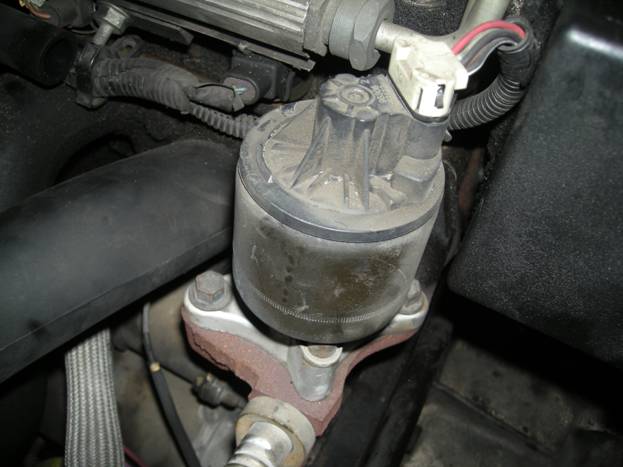
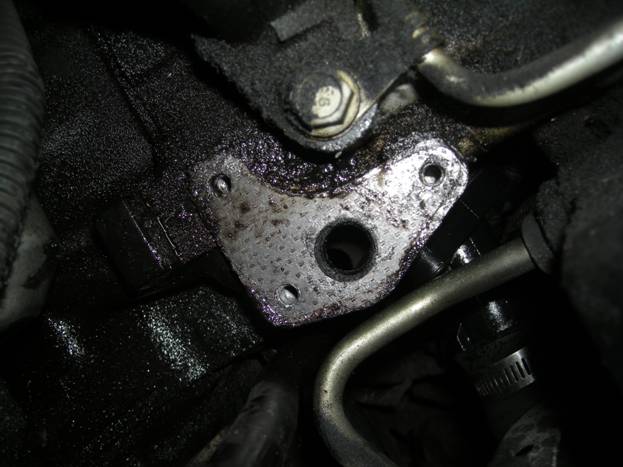
I noted a lot of carbon build up inside the EGR valve adaptor so I removed the adaptor as well so I could clean it.
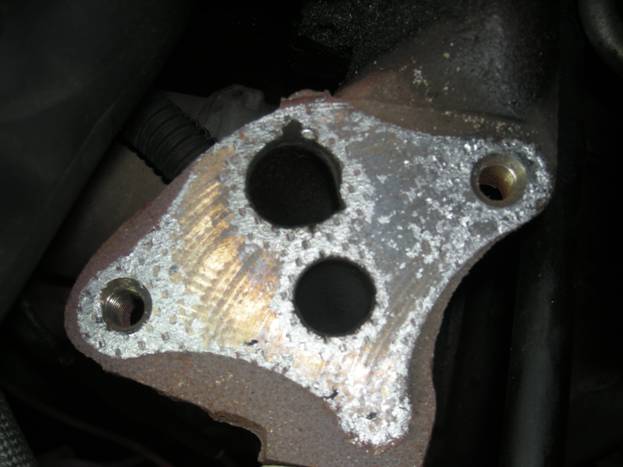
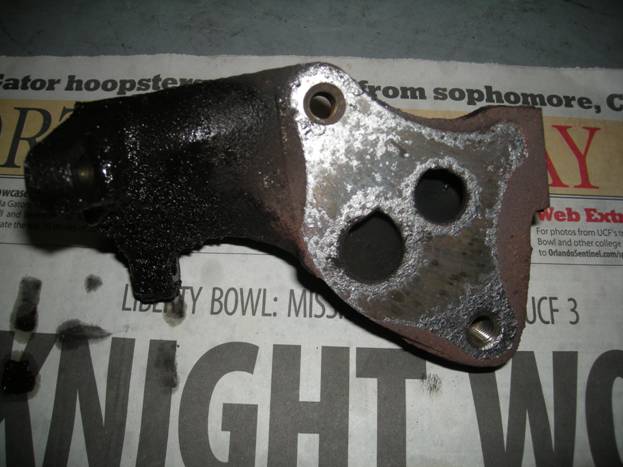
The spring loaded valve of the old EGR value appeared to be stuck in a partly open position. And the valve did not move very easily. The inside was coated with carbon buildup.
I cleaned up the old adapter and valve using carburetor cleaner.
After cleaning, the valve in the old EGR valve now moves easily. I cleanup up everything and re-installed using new gaskets.
Final Maintenance
I could tell the engine sounded better with the cleaned EGR valve. However, I was still getting a P0300 error. So, I added some SeaFoam to the gas tank. And while I was at it I changed the oil and added some SeaFoam to the oil as well. After driving around for a while the engine light went off. The light might continue to go on and off. But this might possibly just be due to the fact that the car was not running for a few weeks. I will re-evaluate the condition after driving it for several days.
Project Costs
|
Part/Item |
Cost |
|
Water Pump |
49.99 |
|
Timing Chain |
49.99 |
|
Water Outlet |
14.99 |
|
AC Delco spark Plugs |
26.36 |
|
Spark Plug Boots |
22.76 |
|
7/32 Vacuum hose |
.77 |
|
Fram Oil Filter |
3.77 |
|
10W30 high mileage oil 1 gal |
14.98 |
|
10W30 high mileage oil 1 quart |
3.88 |
|
Water pump gasket set (for missing gasket from pump housing to engine block) |
10.28 |
|
SeaFoam |
6.48 |
|
Exhaust Manifold Gasket |
14.99 |
|
EGR Valve Gasket |
1.17 |
|
Gasket Remover |
3.97 |
|
Carburetor Cleaner |
3.18 |
|
EGR Valve Adapter Gasket |
4.94 |
|
Gasket Sealer |
4.99 |
|
Fluorescent Shop Light |
24.99 |
|
18mm combo wrench |
4.99 |
|
Metric wrench set |
10.99 |
|
Liquid wrench |
2.99 |
|
¼ drive to ½ drive adapter |
5.99 |
|
Jackstands set |
26.99 |
|
Purple Cleaner |
4.99 |
|
Gasket Scraper |
3.99 |
Project Total: $323.41